Installing the CP Groups plugin
- Download the plugin from https://churchplugins.com/products/cp-groups
- Install the zip file via the WordPress plugin manager
- Activate the plugin
Getting started
Once you have successfully installed and activated CP Groups, a new menu item called “Groups” will appear. To get started, open the submenu, and click on the settings menu item. You will be taken to a page where you can configure global settings for the plugin.
Activating your license
You will need an active license in order to get the latest updates of the plugin when they are released. You can find your license on the ChurchPlugins site. Go to the settings page, and visit the license tab. Copy the license from churchplugins.com, and paste it into the License Key field.
Main settings
In the Main tab of the settings page, you can set the default thumbnail to display for groups. This image will be displayed if you have not specifically set a featured image for the group.
Group settings
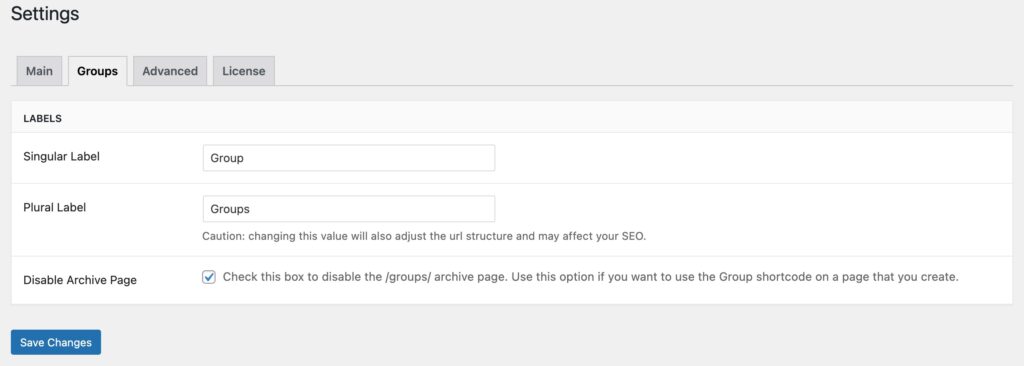
In the Groups tab, you have the option to change what a “group” is called. For example, if you would like a group to be called a gathering, you can specify the singular and plural forms of that word, and update what a group is called across the site. Take note that this also changes the URLs for groups. It is recommended to do this before your pages are indexed, otherwise, it can cause 404 errors for people visiting an indexed URL that uses the old format.
Group Archive Page
If you want to disable the automatic Groups archive page and instead use a page that you create, simply check the “Disable Group Archive” setting and hit save. Use the [cp-groups] and [cp-groups-filter] shortcodes on the Groups page that you create.
Creating a group
In the Groups submenu, click on Add New to pull up an interface for creating a group. There are a large number of options available
Group Details
Most of these options are mainly straightforward.
Group Taxonomies
Just like a post or page, you can assign categories to a group. However, CP Groups has also added two more classification systems: types, and life stages. These can be assigned to a group to make finding a relevant group easier for a user. For example, if a group is geared toward teens, you can create a life stage for that group and any similar ones. Types are similar to categories, but the main difference is that there will be a filter for groups by type.
Advanced settings
There are many configuration options in the advanced tab for CP Groups.
Facets
You can enable or disable filtering options for groups here. For example, disabling the Kid Friendly option hides that filtering checkbox for a user searching for groups.
Buttons
When editing a single group, you can specify an action for registering or contacting. If these are not blank, a button will appear on the group details modal. If they contain an email address, they will open another modal when clicked, allowing a user to send a message to that address.

However, you can hide the registration button even if it has a value by checking the corresponding checkbox.
For the contact button, you can specify whether it uses a contact form or links to another action. You also have the option to hide it.
Contact Form Options
These settings give you control over the contact modal that appears when a user clicks either register or contact. (This assumes that the action is an email address.)
If you would like the email address to be visible when the user fills out the contact form, you can check the
- Display group leader’s email address – If you would like the email address to be visible when the user fills out the contact form, you can select this option.
- Enable contact form throttling – This option allows you to limit the number of times a user submits a contact form in a day. This is mainly to prevent bots flooding your server with spam emails. When selected, you will also have an option to set the maximum number of emails that can be sent per day.
- Prevent staff from sending emails – This option simply prevents messages from being sent if they contain the site domain, the reasoning being it prevents a user from masquadering as a staff member when sending a message.
- Enable captcha on message form – Google ReCaptcha is a powerful tool to prevent automated bots from submitting forms. This option sets up ReCaptcha on the contact forms. In order for it to work, you will need a site key and a secret key. Read here on how to get those.
- From Address and From Name – You can specify the email address and name that an email will be sent from when a contact form is submitted with these fields.
Shortcodes
cp-groups
Use the [cp-groups] shortcode on any page that you want to output the list of Groups.
cp-groups-filter
Use the [cp-groups-filter] shortcode to output the filters for the Groups list.